 Create Plugin
Use the Create Plugin screen to create a ".LEAPlugin" file from a subset of your your LEAP area (typically a particular sector or subsector). These plugins can later be used by other LEAP modelers to help create their own models in a modular fashion. Plugins can include data structures (tree branches), modeling relationships and data. If used in conjunction with expression referencing the LEAP Cloud Data Server (LCDS) then plugins can even be used to distribute a model containing data for multiple countries.
The Create Plugin wizard takes you through a simple four-step process to create a plugin:
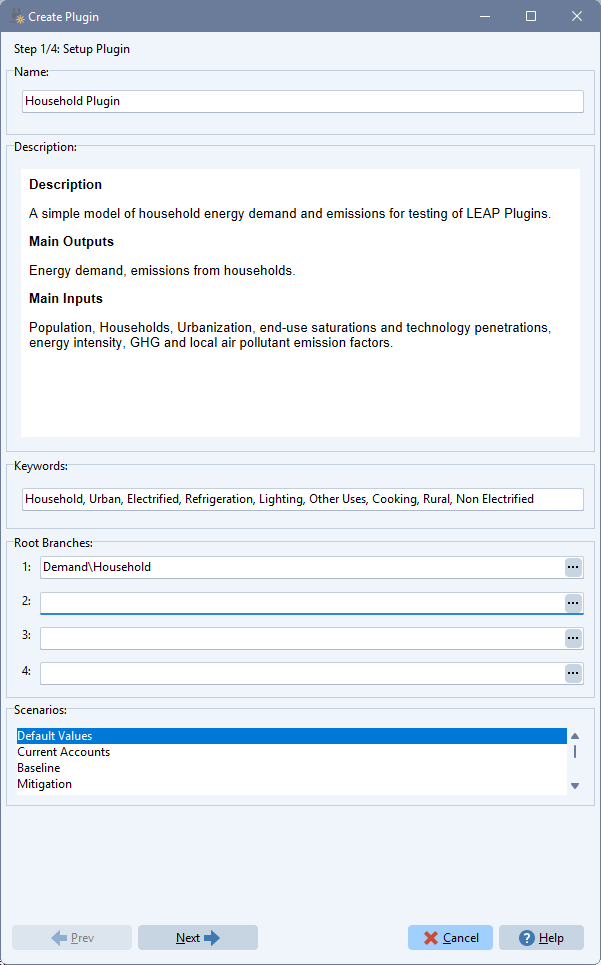
- Step One - Specify Plugin Data: In step one you give the plug in name and write a description of the plugin. This description will later be shown to the person who wants to use the plugin. In this first step you also choose up to 4 "root" branches from your model (area). LEAP will save those root branches all their descendant branches within the plugin. Finally in step one you can select what scenario data to include in the plugin. You may choose to include only the default values for the plugin branches and variables, only the Current Accounts data, or one or more selected scenarios. LEAP will automatically suggest a set of keywords for your plugin based on the names of the selected branches in your model. You can manually add to or edit this list of keywords as you wish. The keywords will be used to help users of the plugin identify plugins that meet their needs.
- Step Two - Review Data: After you click next, LEAP will scan the selected plugin branches and present a summary of the branches, scenarios, fuels, tags, constants, etc. that will be included in the plugin. LEAP may identify that the plugin references multiple branches outside of your chosen root branches. It may even suggest you include some of those branches as additional root branches within the plugin itself. If there are any outside references then the user of the plugin will be asked to connect up those references to equivalent variables in their own model at the time they add the plugin into their own area.
- Step Three - Additional Settings: In step three you can specify additional settings for the Plugin. For example, after plugging in you can have LEAP adjust the scope of calculations in the area that accepts the plugin, and you can set certain scripts that will run in the destination model. You can also specify the scale of the model that accepts the plugin. Finally, you can specify additional data files to be included in the plugin. Only certain file types are allowed. Specifically, you may include Excel spreadsheet and certain scripting files, but you may not include executable files or batch files.
- Step Four - Write User Instructions : In step 4, you can write a detailed set of instructions to be read by the person using your plugin. For example you might want to include instructions on what types of additional data the user will need to find to make the plugin fully functional, or you might want to give recommendations on the types of variables that need to be connected to the outside references within the plugin. You might also want to describe appropriate usage limitations of the model embedded in the plugin.
Once all 4 steps are completed, you can click the Create Plugin button and LEAP create the plugin as a single ".LEAPPlugin" file. These files can be shared among users and uploaded for other to use via the LEAP Plugin Repository on the LEAP web site (coming soon).